If you were like me and got into NBA Top Shots relatively early, you may be looking to sell some of your moments (if you’re unsure of how much your moments are worth, then check out the article I wrote on valuing your NBA Top Shot account ). If you have sold some of your moments your next question may be how do I withdraw from NBA Top Shot
How do I withdraw your balance from NBA Top Shot? If this is your first withdrawal you will need to supply identification and a selfie. This is requested by Dapper in the 30 day review period following your withdrawal request.
We have put together a simple guide of what you need to do in order to withdraw your balance from NBA Top Shot. However, it is important to remember that NBA Top Shot is in beta mode and there has been an extreme increase of new accounts. A lot of these accounts are people trying to make a quick buck and this has caused a backlog of withdrawal requests. Therefore, at this moment, it is going to take a while to withdraw your funds. As soon as the site is out of beta it should speed up, currently, it takes 30-60 days to withdraw money.
Step 1 – Login into your Dapper Account
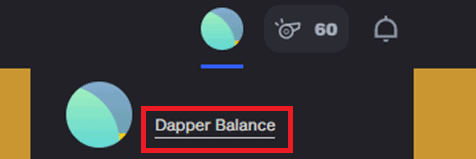
The first step you need to take in order to withdraw money from your NBA Top Shot account is to login to your Dapper Account. If you are unsure how-to login to your Dapper Account, its quite simple. Go to NBA Top Shots and in the top right click the circle of colour, a menu will come down with your username at the top. Underneath your username is a link to your Dapper Balance, click this link and you’ll be sent to your Dapper account.
The below image is from NBA Top Shot and the red box highlights where you need to click.
Step 2 – Withdraw Balance
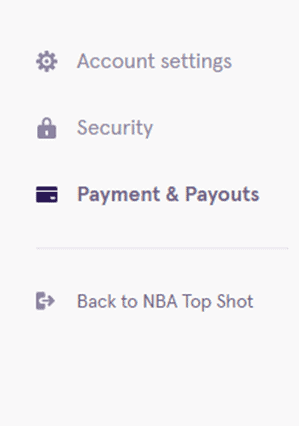
In your Dapper Account on the left-hand side there is a menu, there is an option called Payments & Payouts. Click this option and under your Dapper Balance, there will be an option that says withdraw the balance.
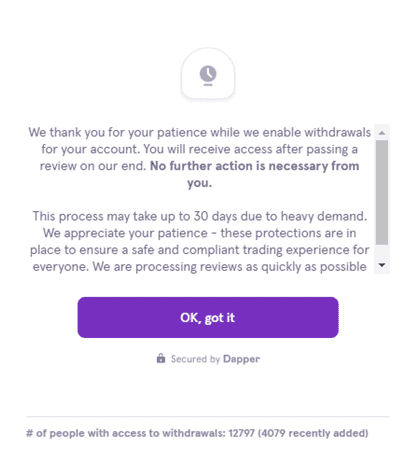
You will receive a message which will say that Dapper will do a review of your account and that the review may take up to 30 days. At the bottom of the page it says how many accounts have access to withdraw.
Step Three – How to Recieve your Withdrawal
Once you are approved you can withdraw your money to a bank for actual cash, its important to note that at this moment at time you can only withdraw money to a bank based in the United States of America. You can transfer your money to a digital wallet, how this is only used for crypto currency (Ethereum specifically ). Its important to note that there is a flat $25 dollar processing fee for withdrawing money and the minimum amount that can be withdrawn is $30.
Step Four – First Withdrawal Procedure
As mentioned, each withdrawal request is manually reviewed. If this is your first withdrawal request you may be asked to complete an identity request. When this is requested you will be asked to upload certain documents to your dapper account. You will only be requested to verify your identity on your first withdrawal or when your account hits a certain level due to purchases and sales of moments.
Step Five – Identification for Withdrawal
- The type of identification you will need to supply to verify your identity varies depending on where you are based in the world.
| Country | Identification Permitted |
| US, Canada and Western Europe | Drivers Licence or Identification Card issued you by your government. Government issued Passport |
| The Rest of the World | Government Issued Passport |
Step Six – Identification Process
You will be asked to take a photo of your identification. Ensure that the ID is in date and not damaged in order to be accepted. The residential address on the ID will need to match your residential address on your Dapper Account. Ensure that the photo you take of your document does not have too much glare or is too dark or blurry.
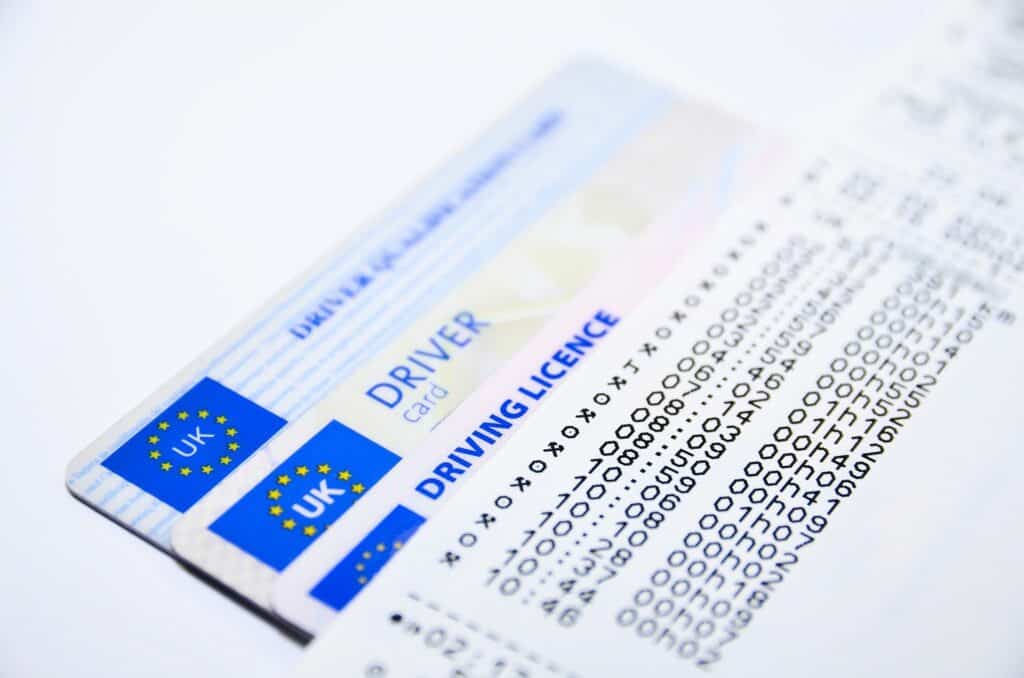
You have seven attempts to get this right, therefore, don’t panic if it doesn’t work on your first go. You should also ensure that all the edges of the ID can be seen in the photo. If it is a driver’s license that you are taking a picture of making sure to take a picture of the front and the back when submitting the ID. When taking a photo of this type, I tend to lay down a piece of white A4 paper on a window ledge and place the identification on the paper for photographing, this way you have light from the window. You will need to take a selfie for the verification process to ensure that you are in a well-lit room and that the picture is not blurry when taking a selfie.
Step Seven – Identification Not Accepted As Part of the Identification Process
There are a number of IDs which are not accepted by Dapper and these are:
- School Idefentication Cards;
- Medical Identification Cards;
- Temporary Identification Cards;
- Residence Permits;
- Public Services Cards; and
- Military Identification Cards Global Entry Cards.
Step Eight – Failing an Identification Check
As mentioned already don’t panic if your fail your identification check, you have seven opportunities to get this correct. However, make sure you have taken good photos of your identification and that the identification is not damaged or expired. These are all grounds for rejection. Its important to not rush taking pictures, make sure you get them right, to avoid rejection.
Step Nine – Adding a Bank Account to Dapper
You can add a Bank Account to Dapper by going to Payments & Payout in your Dapper Menu. Please remember at this moment in time only banks in the USA can be added. Choose the option Payout via wire transfer. Here you will need to include the name that is on the account, the routing number, account number, and billing address.
Its important to note that some smaller banks in the US cannot be used with the process and its best to check with Dapper which banks can be used.
